

You can make custom boxes for shipping by following a few easy steps.
Use the right box size to fit your item snugly. This reduces extra air and keeps shipping costs low.
Pick lightweight, strong materials to lower fees and protect your products.
Try recycled cardboard for a greener choice.
Add your logo or design for a professional look.
Testing your box design helps prevent damage and cuts down on returns. Custom boxes work well for any shape and help you save money.
Key Takeaways
Pick the right size and use strong, light materials. This helps protect your things and saves money on shipping. Measure your product with care. Add extra space for padding so nothing breaks while shipping. Use the right tools to mark, cut, and score the cardboard. This makes your box neat and strong. Fold and tape your box well. Make the corners stronger to keep it safe. Put padding inside the box. This keeps your item from moving around. Seal the box tight with strong tape. This keeps out dirt and water. Write all shipping details clearly on the box. Add any special handling notes for quick delivery. Try using recycled materials. Eco-friendly boxes are good for customers and the planet.
1. Gather Materials
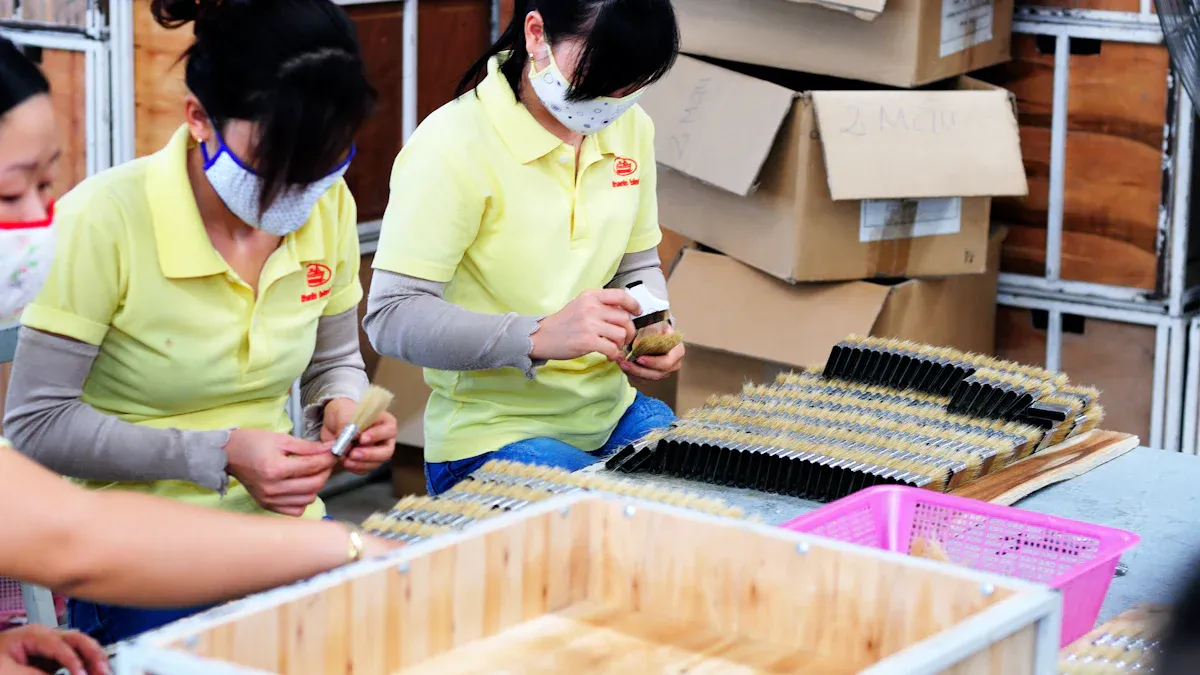
You need to get the right supplies before making custom boxes. The correct materials and tools help you make strong packaging. This keeps your items safe during shipping.
Tools Needed
Cardboard Types
There are different kinds of cardboard you can use. Each one gives a different amount of strength and protection:
Corrugated fiberboard is very tough. Linerboard and flutes together make the box hard to bend or crush. You should look at how thick and good the linerboard is. Strong glue between layers makes the box even stronger.
Cutting Tools
You need the right tools to cut and shape cardboard. Here are some you can use:
Box cutter or utility knife for straight cuts
Scissors for trimming edges
Ruler or measuring tape for sizing
Pencil for marking lines
Packing tape for sealing
If you want to do more advanced projects, you can use die-cutting tools. Machines like the MAKE-N-SHIP™ Box Making Machine use digital designs. They cut, crease, and punch holes in cardboard very accurately. These machines save time and help you waste less material. They are great if you need to make lots of boxes.
Eco-Friendly Options
Many people like eco-friendly packaging now. You can use recycled or used cardboard to save money and help the earth. Folding cartons made from recycled stuff are easy to find and can be recycled again. Corrugated fiberboard made from recycled paper is strong and not expensive. Using recycled paper might cost $0.20 to $0.50 more per box. But it can lower trash costs and attract customers who care about the planet.
Tip: 78% of shoppers in the U.S. want sustainable packaging. Using recycled materials for your custom boxes can help your brand and the earth.
Eco-friendly packaging uses less energy to make. Recycled cardboard needs 25% less energy than new cardboard. Many people will pay more for products with green packaging. Some will not buy if the packaging is not eco-friendly. Using recycled materials helps the environment and gives customers what they want.
Essential Supplies Checklist:
Cardboard sheets (new or recycled)
Box cutter or utility knife
Ruler or measuring tape
Packing tape (water-activated or poly tape for extra security)
Pencil
Branding materials (stickers, stamps, or printed labels)
Custom boxes made with the right materials and tools keep your items safe. They also help your brand stand out. Pick your supplies carefully to balance cost, strength, and being eco-friendly.
2. Measure Item
Measuring your item is the most important step before you start making a box. Accurate measurements help you create packaging that fits well, protects your product, and saves money on shipping.
Take Dimensions
Length, Width, Height
Place your item on a flat surface.
Make sure it sits in its natural position.Use a ruler or measuring tape.
Measure the longest side first. This is the length.Measure the next longest side.
This is the width.Measure the shortest side.
This is the height.Write down each number.
Always use the format Length x Width x Height (L x W x H). This order is standard and helps you avoid confusion during design and shipping.
Accurate measurements are the first step to ensure your box fits the product. If you skip this, your item may not fit, or you may waste materials. Studies show that using precise volume data helps you pick the right packaging faster and reduces the need for repacking. This saves time and money.
Add Padding Space
You need to add extra space for padding. Padding protects your item from bumps and drops during shipping.
Add 2 to 3 inches (50 to 75 mm) to each dimension for fragile items.
For sturdy items, 1 inch may be enough.
Use bubble wrap, foam, or crumpled paper as padding.
Tip: Engineers use special tests to find the best cushion thickness. Most fragile items need at least 2 inches of padding to absorb shock. Too little padding can lead to damage, while too much increases shipping costs.
Consider the thickness of your box material. Add this to your measurements to avoid a tight fit.
Sketch Template
Now, sketch a simple template for your box.
Draw a rectangle for each side of the box.
Label each side with its length, width, and height, including padding.
Mark where the folds will go.
Double-check your numbers before you cut.
A clear sketch helps you avoid mistakes and wasted materials.
It also makes the cutting and folding steps much easier.
Accurate measuring and sketching help you avoid errors, wasted materials, and shipping problems. They also support a professional look and protect your brand image. Studies show that accurate picking and packing can boost speed and accuracy by 30% or more, saving both time and money.
3. Cut Cardboard
Cutting cardboard is an important step. It helps you make a box that fits well and is strong. There are three main things to do: mark your layout, cut the panels, and score the fold lines. Each part helps you work faster, waste less, and get a box that looks good.
Mark Layout
Put your cardboard flat on a clean table.
Use a ruler and pencil to draw your box shape.
Mark each side and add flaps for folding and sealing.
Tip: Check your measurements again before you cut. If you make a mistake now, you might waste cardboard and time.
Careful marking makes your work easier. When you mark your layout well, you use less cardboard and save money. The table below shows how good marking helps:
Cut Panels
Cut on the lines you drew for each side.
Use a box cutter or knife to make straight cuts.
Trim rough edges with scissors if needed.
There are different ways to cut, and each has its own good points:
Flatbed die-cutting is very exact. It is good for small jobs or special shapes. It takes more time.
Rotary die-cutting (round-to-flat) uses a roller. It works well for thick or big sheets. It is not too fast.
Rotary die-cutting (round-to-round) is best for big jobs. It is fast and keeps cuts close to perfect.
CNC plotter cutting uses sharp knives and a computer. It can cut tricky shapes and keeps edges neat. A vacuum holds the cardboard still.
Slitting blade cutting uses different blades and angles. Sabre motion blades need less force and make smooth cuts.
Note: Pick the cutting way that fits your tools and how many boxes you need.
Score Fold Lines
Use a ruler and a blunt edge, like the back of your knife, to press on the fold lines.
Score each line where the box will bend, but do not cut through.
Scoring helps you fold the cardboard neatly and keeps the edges sharp.
Scoring is important because it makes folding easy and stops the cardboard from breaking. Die-cutting machines can score and crease at the same time, which saves time and makes the box better.
Tip: Always score before folding. This step helps your box look neat and makes putting it together much easier.
4. Make Custom Boxes
Fold and Assemble
Start by folding your cardboard along the scored lines. Use your hands to bend each panel slowly. This keeps the edges clean and sharp. Make sure each fold matches your sketch. When you fold the panels, the box will start to take shape. Fit the sides together so they line up neatly. You want a snug fit for your item. This step helps your custom boxes look professional and keeps your products safe.
Many packaging experts use special folding styles to save time and reduce waste. For example, tuck end auto-lock bottom boxes and snap bottom boxes fold quickly and hold heavy items well. These styles help you pack faster and use less material. If you plan to make many custom boxes, you can look at ways to automate folding and assembly. Automation increases speed and reduces mistakes. It also lets you adjust your process as your needs change. Regular checks and feedback from your team can help you find ways to work even better.
Tip: Store your box panels flat until you need them. Flat storage saves space and makes assembly faster.
Tape and Secure
After folding, you need to tape the seams. Use strong packing tape on all edges and flaps. Press the tape down firmly so it sticks well. Cover every seam where two panels meet. This step keeps your box from opening during shipping.
You can use extra tape for heavy or fragile items. Some people add a second layer of tape to the bottom of the box. This gives more support and stops the box from breaking. Using extra tape is like adding a safety net. It helps your custom boxes stay strong, even if they carry a lot of weight.
Reinforce Corners
Corners are the weakest part of any box. You can make them stronger by adding extra cardboard pieces inside each corner. Cut small strips of cardboard and place them in the corners before sealing the box. This simple step adds strength and helps the box keep its shape.
Many experts use extra tape or special support strips to reinforce corners. These methods increase the box’s ability to handle stress and protect your items. In other fields, like medicine, adding support tape helps tissues heal and stay strong. In packaging, extra tape and cardboard work the same way. They shield the box from damage and help it last longer.
If you need a bigger box, you can combine two standard boxes. Cut and join them with tape and extra cardboard at the seams. This method lets you create custom boxes for large or odd-shaped items.
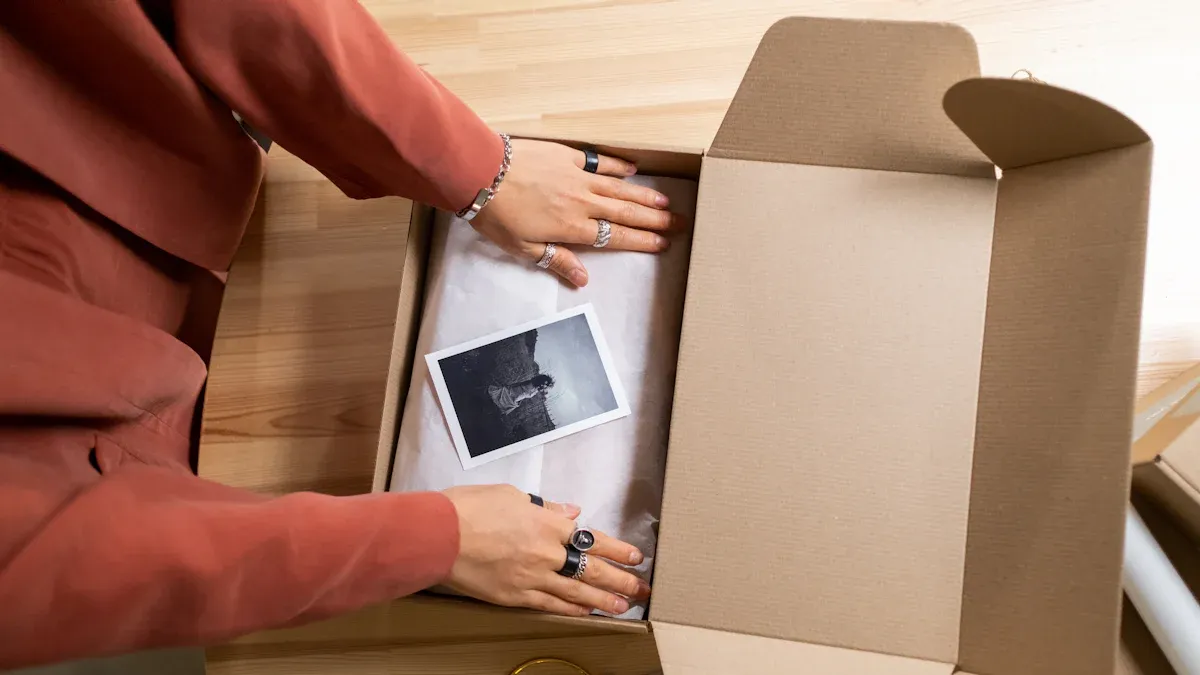
Add your logo, stickers, or stamps before sealing the box. Branding makes your package look professional and helps people remember your business.
5. Pack and Seal
Add Padding
Choose the right padding material.
You can use bubble wrap, foam inserts, air pillows, or packing peanuts. Each type helps absorb shocks and keeps your item from moving inside the box.Bubble wrap works well for fragile items. Wrap your item in two or more layers for extra safety.
Foam inserts fit the shape of your product and hold it in place.
Air pillows fill empty spaces and act as shock absorbers. They are light and easy to recycle.
Packing peanuts fill gaps and cushion your item, but they work best with other padding.
Line the bottom of the box.
Place a layer of padding at the bottom before you add your item. This step protects your product from bumps during shipping.Fill all empty spaces.
After placing your item, add more padding around the sides and on top. Make sure nothing can move inside the box.
Tip: Companies that use extra padding see fewer damaged products. Tests like drop tests show that good padding keeps items safe, even if the box gets dropped.
Place Item
Center your item in the box.
Put your product in the middle of the padded box. This keeps it away from the edges and lowers the risk of damage.Check for movement.
Gently shake the box. If you hear or feel anything move, add more padding until the item stays still.Use the right box size.
A box that fits your item well, with just enough space for padding, works best. This reduces shipping costs and helps the environment by using less material.
Using the correct box size and padding improves customer satisfaction. Your product looks better and arrives safely.
Seal Box
Close all flaps tightly.
Fold the top flaps down so they meet in the center. Make sure the edges line up.Tape all seams.
Use strong packing tape. Seal the center seam first, then tape along the edges and corners. For heavy or valuable items, add extra tape for more strength.Check the seal.
Press down on the tape to make sure it sticks well. A strong seal keeps your box closed during shipping and protects your product from dirt and moisture.
Strong seals help your package survive rough handling and changes in pressure during transport. Many companies test their seals to make sure they hold up under stress.
Good sealing keeps your brand’s reputation strong by making sure your products arrive fresh and safe.
Note: Regularly check your sealing method. Testing and improving your process helps prevent leaks and damage, especially for items that travel long distances.
Label for Shipping
Labeling your shipping box is the final step before sending it out. A clear and accurate label helps your package reach its destination quickly and safely. Follow these steps to label your box the right way:
Print or Write the Shipping Label
Use a printed label if possible. Printed labels are easier to read and scan.
If you write by hand, use a black marker and write clearly.
Include the full name, address, and phone number of the recipient.
Add your return address in the top left corner.
Choose the Best Spot for the Label
Place the label on the largest, flattest surface of the box.
Avoid putting the label on seams, corners, or over tape.
Make sure the label is not covered by any other stickers or writing.
Attach the Label Securely
Use clear packing tape to cover the label. This protects it from water and dirt.
Do not tape over the barcode if the label has one. Barcodes must stay easy to scan.
Add Special Handling Labels
If your package needs extra care, use special labels like “Fragile,” “This Way Up,” or “Handle with Care.”
Place these labels on multiple sides of the box so handlers can see them from any angle.
Special handling labels help workers know how to move your package safely.
Double-Check All Information
Check that all details are correct and easy to read.
Make sure the label matches the shipping documents.
Clear labeling helps your package move faster through shipping centers. The National Motor Freight Traffic Association (NMFTA) found that unlabeled boxes cause confusion and slow down the process. In 2023, over 300 hazardous chemical incidents in the US happened because of poor labeling. Proper labels reduce mistakes, keep workers safe, and help your package arrive on time.
DHL also recommends placing labels on the top of the box and keeping them away from seams. This makes it easier for workers to scan and sort your package. Special handling labels, like “Fragile,” alert workers to treat your box with care. These steps help prevent damage and speed up delivery.
Quick Labeling Checklist:
Recipient’s full name and address
Return address
Phone numbers
Special handling labels (if needed)
Label placed on flat surface
Label protected with clear tape
Tip: Double-check your label before shipping. A small mistake can cause big delays.
You can make your own custom boxes by following these simple steps:
Gather the right materials and tools.
Measure your item and add space for padding.
Cut and score the cardboard.
Fold, tape, and reinforce the box.
Pack, seal, and label for shipping.
Eco-friendly custom boxes help reduce waste and show your care for the planet. Many people prefer sustainable packaging. Check out these numbers:
Try making your own boxes and experiment with new designs. You can protect your products, help the environment, and make your brand stand out. Start today and see the difference!
FAQ
How do you choose the right cardboard for your custom box?
Pick cardboard based on your item’s weight and fragility. Single wall works for light items. Double or triple wall gives more strength for heavy or breakable products. Always check the thickness and quality before you start.
Can you reuse old boxes to make new custom boxes?
Yes, you can reuse old boxes. Cut out clean, undamaged sections. Avoid using cardboard with water damage or weak spots. Reusing boxes saves money and helps the environment.
What is the best way to cut cardboard safely?
Use a sharp box cutter or utility knife. Always cut on a stable surface. Keep your fingers away from the blade. Work slowly and follow your marked lines. Safety gloves add extra protection.
How do you make sure your box is strong enough for shipping?
Reinforce seams and corners with extra tape or cardboard strips. Test the box by gently pressing on all sides. If it feels weak, add more support. Strong boxes protect your items during shipping.
What padding materials work best inside custom boxes?
Bubble wrap, foam inserts, and air pillows work well for most items. Use crumpled paper for lightweight products. Always fill empty spaces so your item does not move. Good padding prevents damage.
Can you add branding to homemade boxes?
Yes! Add stickers, stamps, or printed labels with your logo. Use colored tape or custom stamps for a unique look. Branding makes your package look professional and helps customers remember you.
How do you measure odd-shaped items for a custom box?
Measure the longest, widest, and tallest points of your item. Add extra space for padding. Sketch a template based on these measurements. Odd shapes may need extra padding or creative folding.
What should you do if your box is too big for your item?
Add more padding to fill empty spaces. You can also trim the box to fit better. A snug fit keeps your item safe and lowers shipping costs.
